 24 X 7 online support
  Contact Us Free
How to Winterize a Well Pump and Pressure Tank: 5-Step Guide 2025
Winterizing a well pump and pressure tank prevents freeze damage that can cost $2,000 to $5,000 in repairs. According to the National Ground Water Association (2024), proper winterization protects submersible pumps, jet pumps, and bladder tanks from burst pipes and cracked components during freezing temperatures. This comprehensive guide provides step-by-step instructions for protecting your water system during cold weather preparation.
Project Overview: Difficulty and Time Requirements
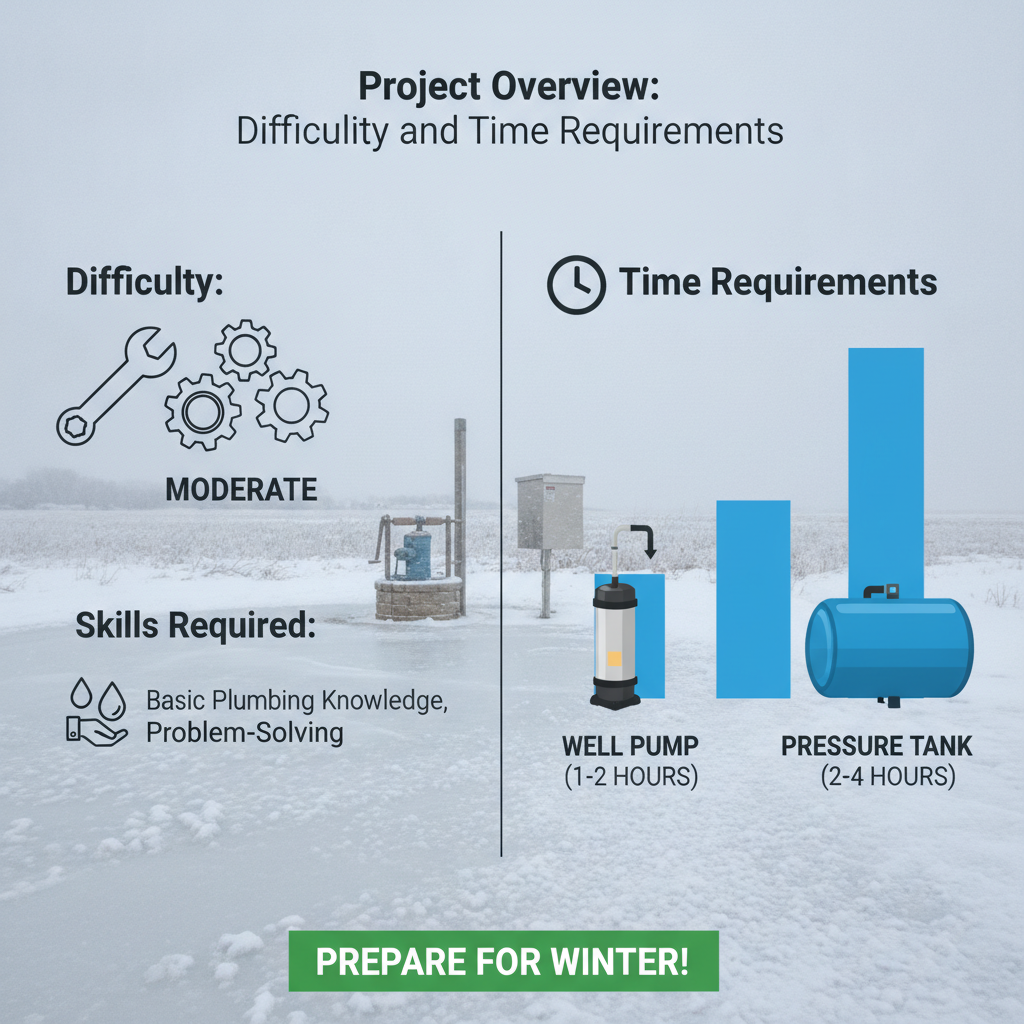
Skill Level: Intermediate (homeowner with basic plumbing knowledge)
Time Required: 2-4 hours for complete well system winterization
Cost: $50-$150 for materials (RV antifreeze, insulation, tools)
Best Timing: Before temperatures drop below 32°F (0°C)
Before You Begin: Prerequisites and Safety
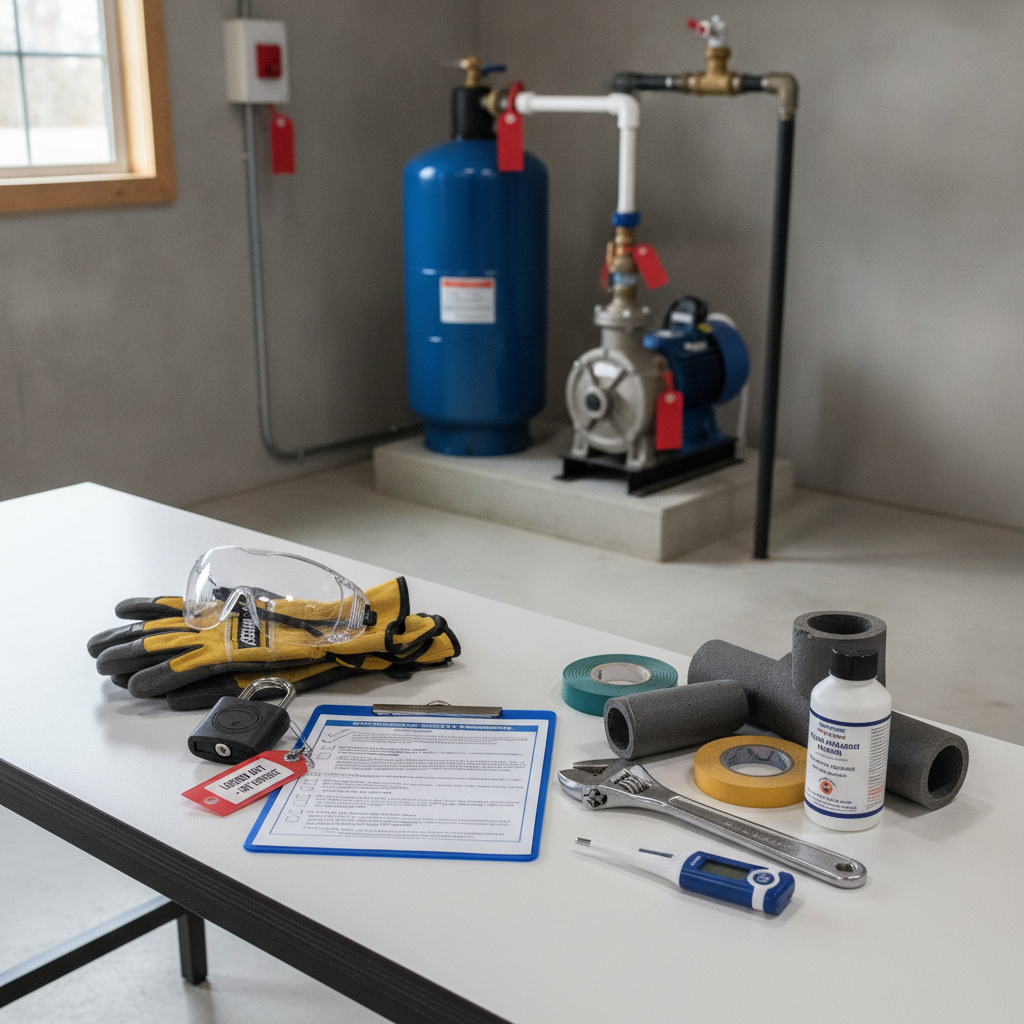
Required Tools and Materials:
- Air compressor (minimum 5 CFM capacity for compressed air blow out)
- Propylene glycol-based RV antifreeze (2-3 gallons)
- Adjustable wrench and screwdriver set
- Bucket for water collection during tank drainage
- Pipe insulation and foam insulation for exposed water lines
- Heat tape or heating cable for well house protection
- Pressure gauge for monitoring system pressure release
- Work gloves and safety glasses
Safety Considerations:
- Turn off circuit breaker before handling electrical connections
- Ensure proper ventilation when using antifreeze solution
- Contact licensed plumber or well contractor for 220V well pump systems if inexperienced
- Never use automotive antifreeze (ethylene glycol) in plumbing system
Step 1: Shut Down Power and Water Supply
Disconnect electrical power at the circuit breaker. Locate your pump’s dedicated breaker panel and switch to OFF position. For submersible pump systems, this prevents motor damage during drainage procedures. According to the Water Systems Council (2024), electrical disconnection reduces shock hazards during water system maintenance.
Close the main gate valve or ball valve. Turn the shut off procedure valve clockwise until fully closed. This valve typically sits between the pressure tank and home distribution lines. Mark valve position with tape for spring reactivation reference.
Open all faucets in the home. Start with the highest fixture and work downward to allow gravity-assisted drainage. Include outdoor faucet, garden hose connections, and backflow preventer locations. Open both hot and cold water taps completely.
Step 2: Drain Pressure Tank and Water Lines
Release pressure from the expansion tank. Locate the pressure relief valve on your bladder tank or standard pressure tank. Open slowly to release compressed air safely. Monitor the pressure gauge—it should drop to zero PSI within 2-3 minutes.
Open the drain valve at the pressure tank’s base. Position a bucket beneath the drain plug or drain valve. Most 40-gallon pressure tanks contain 10-15 gallons of actual water. Allow 15-20 minutes for complete tank emptying. For systems without drain valves, disconnect the pipe union below the tank using a wrench.
Drain water heater and appliances. Turn off water heater power, attach hose to drain valve, and empty completely. Flush toilets multiple times to remove water residue from tanks and bowls. Run dishwasher and washing machine prep cycles if applicable. This appliance winterization prevents freeze damage throughout your plumbing winterization process.
Drain water line sections. Open lowest drain points in your water system, including basement utility sinks and laundry tubs. For homes with drip irrigation or sprinkler system components, activate manual drainage valves. According to irrigation specialists (2024), outdoor spigot protection requires complete hose bib winterization to prevent burst pipes.
Step 3: Remove Remaining Water Using Antifreeze or Air
Method A: RV Antifreeze Addition (Recommended for Vacation Homes)
Pour propylene glycol antifreeze into pressure tank. After tank drainage, add 2-3 gallons of non-toxic RV antifreeze through the drain valve opening or tank top (if accessible). This antifreeze solution protects bladder tank interiors and check valve components from freeze damage prevention.
Circulate antifreeze through fixtures. Temporarily restore power and allow pump to pressurize system briefly (30 seconds maximum). Open each faucet draining until pink antifreeze appears. Add 1 cup antifreeze to each toilet bowl and tank. This fixture drainage method ensures complete water evacuation.
Method B: Compressed Air Blow Out Procedure
Connect air compressor to drain valve port. Using proper adapters, attach compressed air line to the water system’s lowest accessible point. Set compressor to 30-50 PSI maximum—higher pressures risk pipe damage during blow out procedure.
Purge water lines systematically. Starting with closest fixtures, open one faucet at a time. Allow compressed air method to push water through for 2-3 minutes per fixture. Work progressively away from compressor connection point. This water line drainage technique removes 95-98% of system water according to HVAC technician standards (2024).
Clear drain traps and P-traps. Pour 1 cup RV antifreeze into each drain to protect trap seals. This prevents sewer gas infiltration and protects O-ring preservation in fixture connections.
Step 4: Protect Pump House and Insulate Components
Insulate exposed pressure tank and pipes. Wrap foam insulation or fiberglass insulation around visible water lines and pressure tank exterior. Pay special attention to sections near exterior walls or in unheated well house spaces. Secure with tape rated for temperature maintenance below freezing.
Install heat trace cable if needed. For well house heating in extreme cold climates, wrap heating cable around vulnerable sections. Connect to thermostat set at 40°F activation temperature. According to cold climate plumbing experts (2024), heat tape application reduces freeze risk by 80% in pump house environments.
Add thermal blanket to well cap area. Insulate the sanitary seal and pitless adapter zone if accessible. This well head protection prevents frost line infiltration. Apply additional pipe insulation around visible plumbing near frost protection zones.
Secure well house openings. Seal gaps that allow cold air infiltration. Check that doors close tightly and windows have intact seals for proper insulation techniques.
Step 5: Final Inspection and Documentation
Verify all drain valves remain open. Walk through home confirming every faucet stays in open position. This allows air circulation and prevents pressure buildup. Check that outdoor faucet handles point downward for gravity drainage if residual moisture remains.
Document valve positions and procedures. Photograph circuit breaker positions, main valve locations, and any special shut-off points. Note antifreeze quantities used and date of winterization steps completion. This water system shutdown documentation assists with spring reactivation by plumber or self-service.
Schedule pressure system care inspection. Plan pre-spring checkup with well contractor to verify gasket protection and mechanical seal care integrity. Replace any damaged check valve or foot valve components identified during inspection.
Troubleshooting Common Winterization Issues
If drain valve won’t open: Apply penetrating oil to stuck threads, wait 15 minutes, try again. If unsuccessful, disconnect pipe union above valve for tank emptying access.
If water continues flowing from pressure tank: Check that foot valve or check valve isn’t allowing well water back-flow. May require vacuum breaker inspection or valve replacement by licensed professional.
If antifreeze doesn’t appear at fixtures: System may have blockage or inadequate antifreeze volume. Add another gallon and repeat pressurization cycle. Ensure pressure switch allows pump activation.
If air compressor lacks sufficient pressure: Rent commercial-grade compressor from equipment supplier. Household units below 5 CFM may not provide adequate compressed air for complete system flush.
Next Steps: Spring Reactivation and Maintenance
When temperatures consistently stay above freezing, reverse these winterization steps. Flush antifreeze completely before resuming normal use. Inspect torque arrestor, impeller protection components, and motor preservation systems for winter damage. Test pressure switch functionality and confirm pressure gauge accuracy. For detailed guidance, visit comprehensive well pump maintenance resources.
Schedule annual well system preparation reviews with qualified well contractor to ensure pump longevity and reliable seasonal home closure procedures. Professional inspection costs $150-$300 but prevents expensive emergency well pump freeze protection repairs.
Complete well system winterization protects your investment and ensures reliable water service year-round. Following these freeze prevention methods reduces repair costs and extends equipment lifespan by 5-10 years according to water system protection industry standards.