 24 X 7 online support
 Contact Us Free
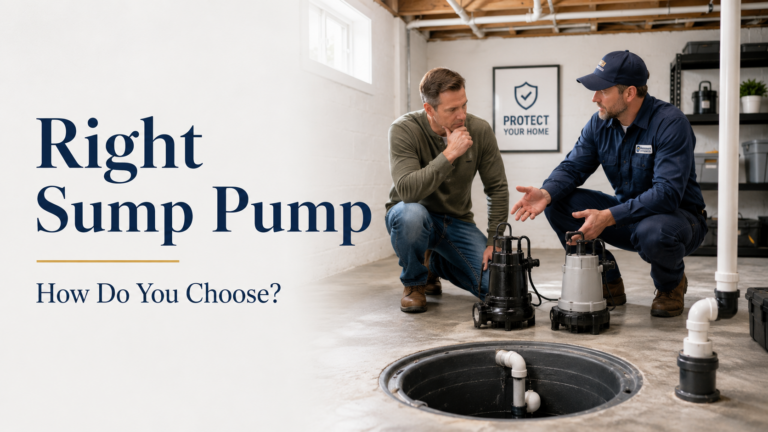
How to Choose the Right Replacement Pump for Your Basin: 7-Step Guide
Outcome: Selecting and installing the correct replacement sump pump for your basin takes 30–60 minutes of planning plus 1–2 hours for installation. Skill level: beginner to intermediate. This guide gives you a repeatable method to match pump capacity, horsepower, and features to your basin size and water table depth.
Before You Begin: Prerequisites Checklist
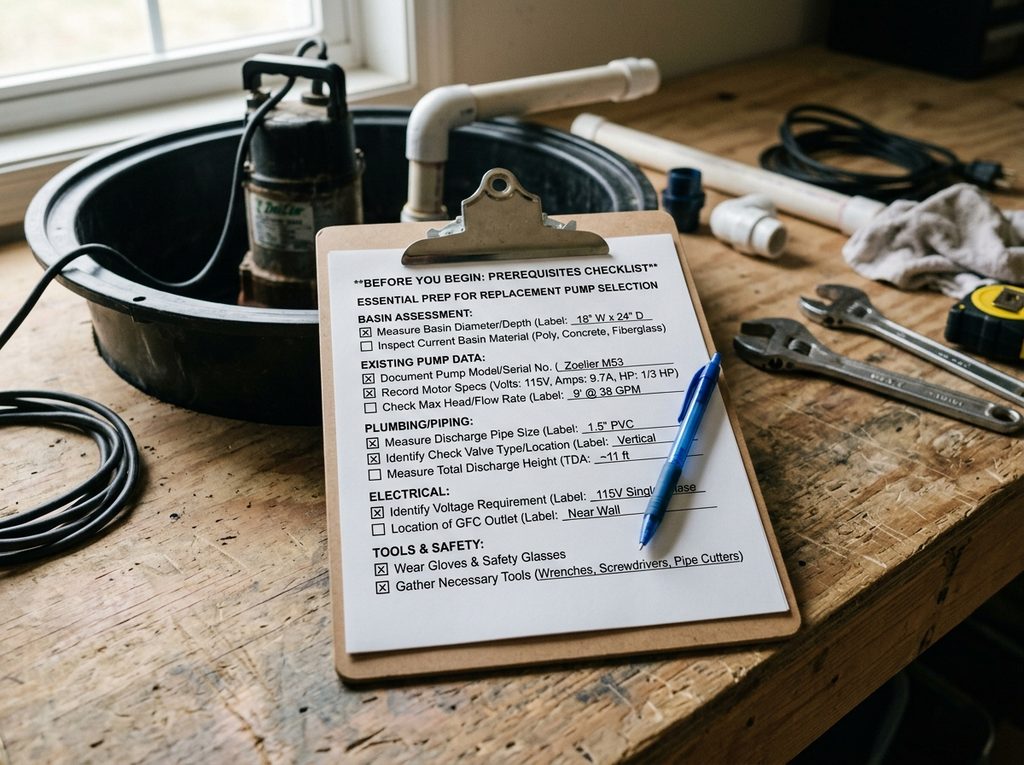
- Tape measure — for basin diameter and depth
- Bucket and stopwatch — to calculate water flow rate
- Existing pump specs — horsepower, GPM rating, voltage
- Access to a grounded electrical outlet near the sump pit
- Basic hand tools — pipe wrench, screwdriver, PVC cutter
- Safety gear — gloves, eye protection (pumps handle electrical + water)
Skipping measurement steps is the top cause of undersized or oversized pump purchases, according to plumbing industry surveys (National Association of Home Builders, 2023).
Step 1: Measure Your Sump Pit Size and Basin Depth
Sump pit size directly determines which pump housing will fit and how much water the basin can hold before triggering the float switch.
- Measure the basin diameter (standard sizes: 18, 22, or 24 inches).
- Measure basin depth from the pit floor to the basement floor level.
- Record water table depth — the distance from ground level to standing groundwater, which affects how often the pump cycles.
Sub-step: If your basin is under 18 inches deep, you may need a low-profile submersible pump rather than a standard pedestal pump.
Step 2: Calculate GPM Rating and Motor Horsepower
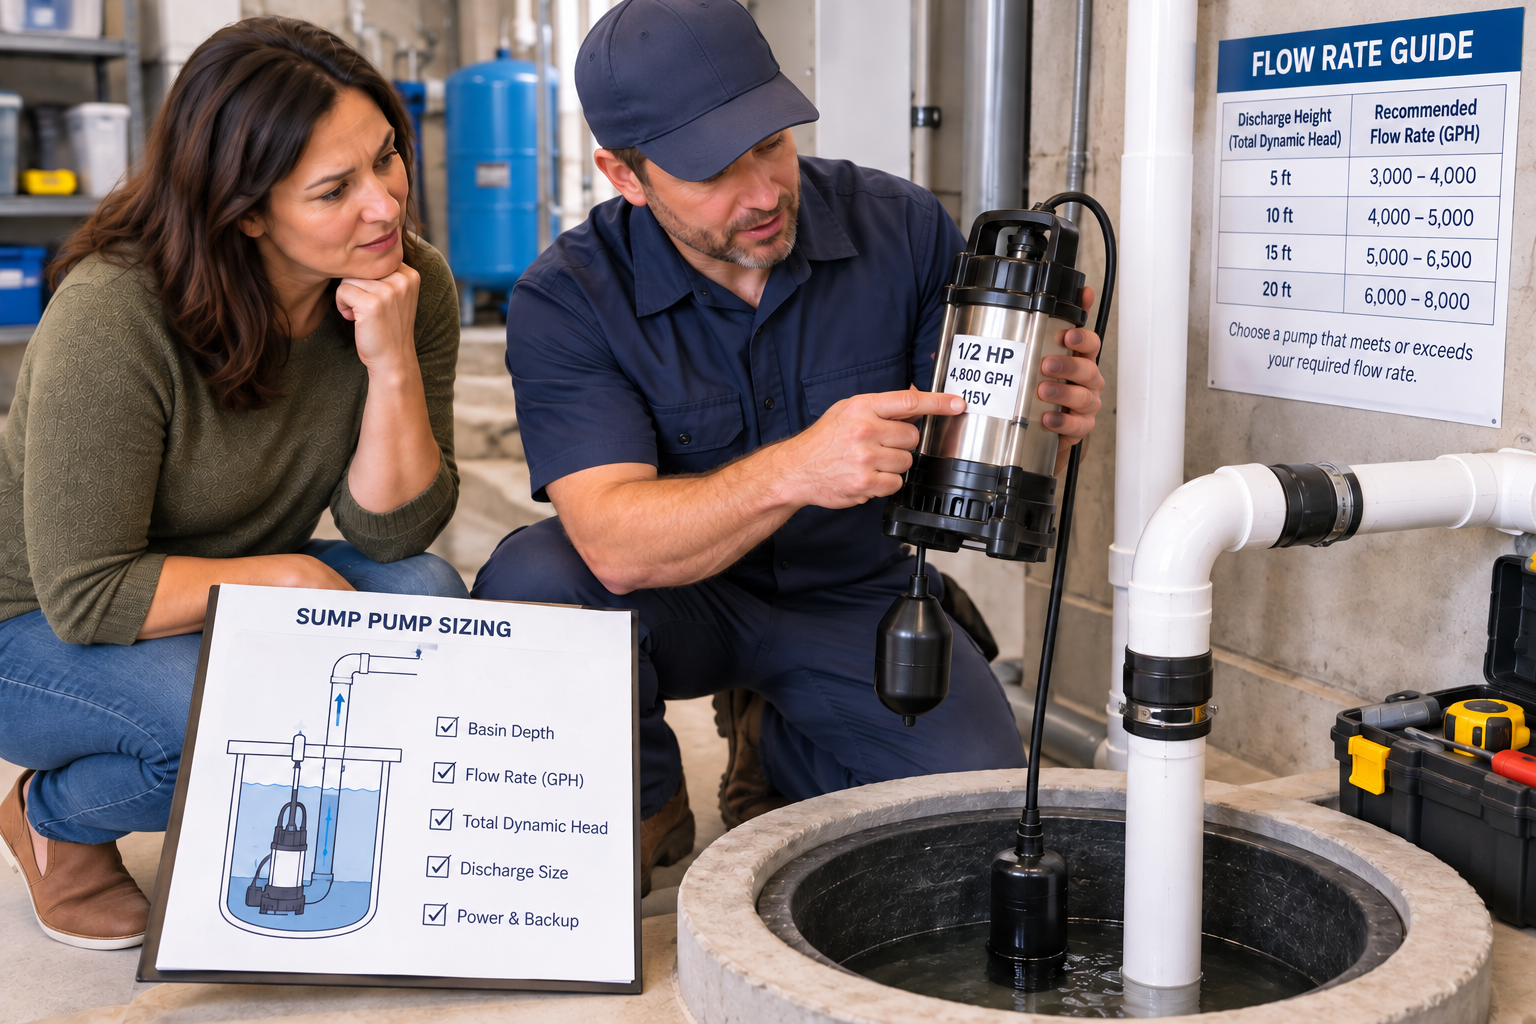
Pump capacity calculation combines two numbers: gallons per minute (GPM) removed and motor horsepower needed to lift water through the discharge pipe.
- Fill the basin partially and time how fast water refills it after pumping — this is your water flow rate.
- Multiply basin gallons by refill cycles per hour to estimate GPM demand.
- Match this figure to a pump’s GPM rating listed by the manufacturer.
Horsepower guide:
| Motor Horsepower | Typical GPM Rating | Best For |
|---|---|---|
| 1/3 HP | 28–40 GPM | Small basins, minor seepage |
| 1/2 HP | 40–55 GPM | Average basement, moderate water table |
| 3/4 HP | 55–70 GPM | Large basins, high water table depth |
| 1 HP | 70+ GPM | Frequent flooding, deep basins |
Oversizing wastes energy and shortens pump lifespan through short-cycling; undersizing risks basement flooding during storms.
Step 3: Decide Between Submersible vs Pedestal Pump
Submersible vs pedestal pump choice affects noise level, lifespan, and basin fit.
- Submersible pump: Sits fully inside the basin, runs quieter, typically lasts 5–15 years, ideal for finished basements.
- Pedestal pump: Motor sits above the basin on a column; easier to service, often cheaper, but louder and requires a wider basin opening.
If your basin is narrow (under 18 inches) or you prioritize low noise, choose a submersible pump. If budget and easy motor access matter more, a pedestal pump is the practical pick.
Step 4: Select Impeller Material and Float Switch Mechanism
Cast Iron vs Plastic Pump Housing
Cast iron vs plastic pump housing impacts durability and heat dissipation. Cast iron pump housings dissipate motor heat better and often last longer under continuous use; plastic (thermoplastic) housings resist corrosion and cost less.
Float Switch Types
- Tethered float switch: Simple, affordable, needs clearance to swing freely.
- Vertical float switch: Compact, fits narrow basins.
- Electronic water level sensor: No moving parts, reduces mechanical failure risk.
An automatic pump switch — whether float-based or sensor-based — is what triggers pump activation, so verify it clears basin walls and any backup pump installed alongside it.
Step 5: Add a Backup Pump and Battery Backup System
A backup pump protects your basement during power outages or primary pump failure. Best battery backup sump pump for basement flooding models combine a secondary pump with a deep-cycle battery, activating automatically when the primary unit stops.
- Choose a battery backup system rated for at least 8–10 hours of continuous run time.
- Confirm the backup pump’s GPM rating matches or exceeds your primary pump’s rating.
- Install a check valve on the discharge pipe to prevent backflow between the primary and backup pump cycles.
For detailed guidance on choosing a replacement sump pump with backup capability, consult a pump specialist before purchase.
Step 6: Verify Voltage Requirements, Outlet, and Discharge Pipe Compatibility
- Confirm voltage requirements — most residential sump pumps run on standard 120V household current.
- Ensure the electrical outlet is a GFCI-protected outlet dedicated to the pump, not shared with other high-draw appliances.
- Match discharge pipe diameter (typically 1.5 or 2 inches) to the pump’s outlet fitting.
- Install or inspect the check valve to stop water from flowing back into the basin after each cycle.
Step 7: Compare Pump Manufacturers, Warranty Coverage, and Installation Cost
Pump brand comparison should weigh warranty length, motor efficiency, and pump reliability ratings.
| Factor | What to Check |
|---|---|
| Warranty coverage | 3–5 years typical; some premium models offer lifetime motor warranties |
| Pump installation cost | $250–$600 including labor, varies by pump type and basin modifications |
| Energy efficient pump rating | Look for Energy Star-listed motors to reduce electricity costs |
| Pump durability | Check average lifespan reviews across pump manufacturer models |
According to Energy.gov (2024), energy efficient pump motors can reduce annual operating costs by 10–20% compared to older models.
How to Install a Replacement Sump Pump Safely
- Disconnect power to the old pump before removal.
- Detach the discharge pipe and check valve from the old unit.
- Remove the old pump from the basin and clean debris from the pit.
- Place the new pump in the basin, ensuring the float switch has full range of motion.
- Reconnect the discharge pipe, check valve, and secure fittings.
- Plug into the GFCI outlet and test by pouring water into the basin.
Troubleshooting Common Pump Selection Issues
- If the pump short-cycles frequently → the horsepower or GPM rating is too high for your basin size; downsize to the next lower model.
- If water still floods during storms → your GPM rating is too low; recalculate pump capacity using peak flow rate, not average.
- If the pump runs but doesn’t discharge water → check for a clogged or frozen discharge pipe, or a stuck check valve.
- If the float switch doesn’t trigger → confirm it isn’t hitting basin walls; switch to a vertical float or electronic water level sensor.
- If the pump is unusually loud → switch from pedestal pump to submersible pump, or check for impeller debris.
- If power outages cause repeated flooding → add a battery backup system or secondary backup pump.
Signs You Need a New Sump Pump
- Pump age exceeds 7–10 years (average pump lifespan)
- Rust or corrosion visible on pump housing
- Pump runs constantly without shutting off
- Unusual grinding noise from the impeller
- Previous water damage restoration required due to pump failure
Next Steps
- Schedule annual pump maintenance checks, including impeller inspection and float switch testing.
- Pair your new pump with basement waterproofing measures like exterior grading and drain tile systems.
- Document your pump model, GPM rating, and installation date for future warranty claims.
- Consider a flood control system that combines primary, backup, and battery backup pumps for full protection.