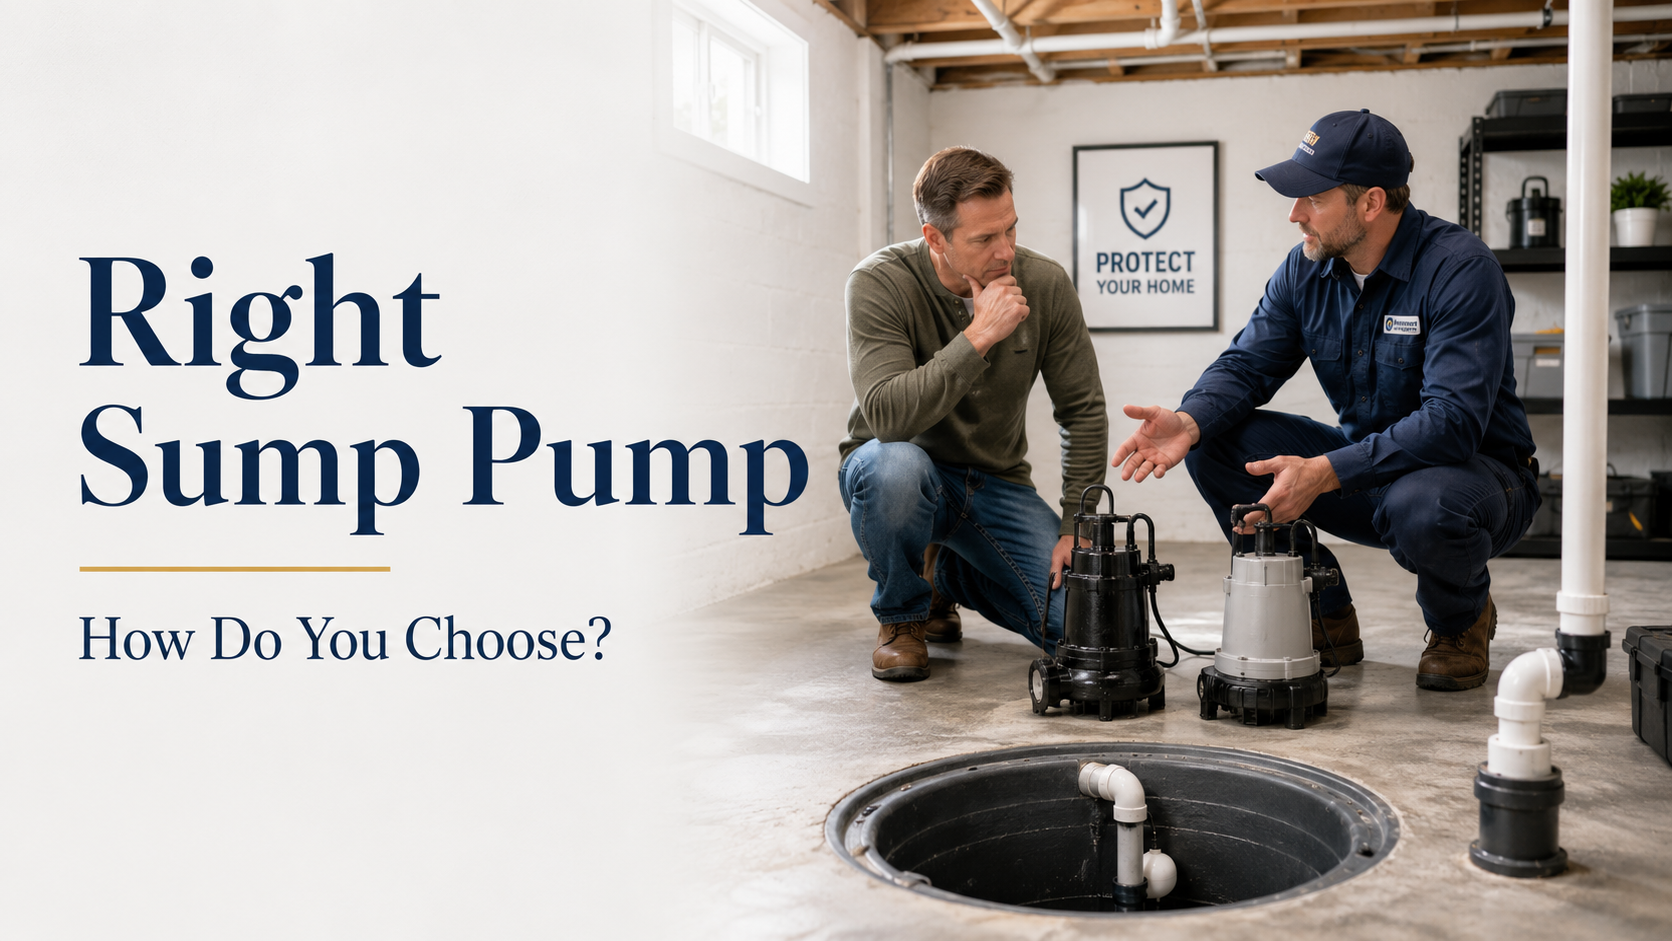
How Do You Choose the Right Sump Pump for Your Home?
Outcome: Select the optimal sump pump system for basement flooding prevention within 1-2 hours of research. Skill Level: Beginner-friendly. This home water protection guide helps homeowners identify the best sump pump for basement flooding based on specific drainage requirements and foundation characteristics.
Before You Begin: Prerequisites

- Measure your sump pit dimensions (diameter and depth)
- Identify your basement’s water infiltration control issues (seepage, flooding frequency)
- Check available power sources (AC outlets, battery backup options)
- Review local building code requirements for drainage systems
- Consult your insurance company about flood protection requirements
- Note your home’s vertical lift requirements (distance from basement to discharge point)
Step 1: Assess Your Basement Water Problem and Drainage Requirements

Determine the severity and frequency of water issues in your crawl space or basement. According to the American Society of Home Inspectors (2024), homes with high water table conditions require different pump performance ratings than those experiencing occasional moisture control issues.
1.1 Evaluate Water Volume: Observe how quickly water accumulates in your sump basin during heavy rainfall. Homes experiencing continuous groundwater seepage need higher pumping capacity than properties with seasonal flooding patterns.
1.2 Measure Groundwater Frequency: Track basement water issues over 30 days. Daily water accumulation indicates hydrostatic pressure problems requiring a more robust water removal system. Occasional storms suggest moderate drainage solution needs.
1.3 Identify Foundation Type: Clay soil foundations with poor drainage create different water management solution requirements than sandy soil properties. Clay soils generate 40-60% more hydrostatic relief demands according to the National Association of Home Builders (2024).
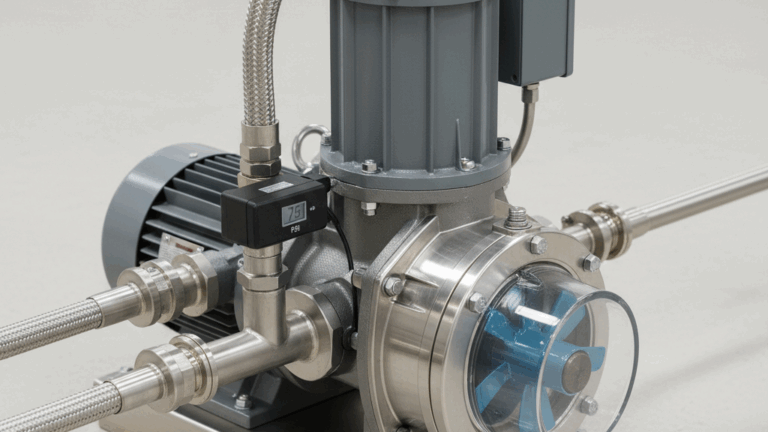
Step 2: Choose Between Submersible Pump and Pedestal Pump Types
The primary sump pump decision involves selecting between submersible water pump and pedestal water pump designs. Each pump motor type offers distinct advantages for residential drainage applications.
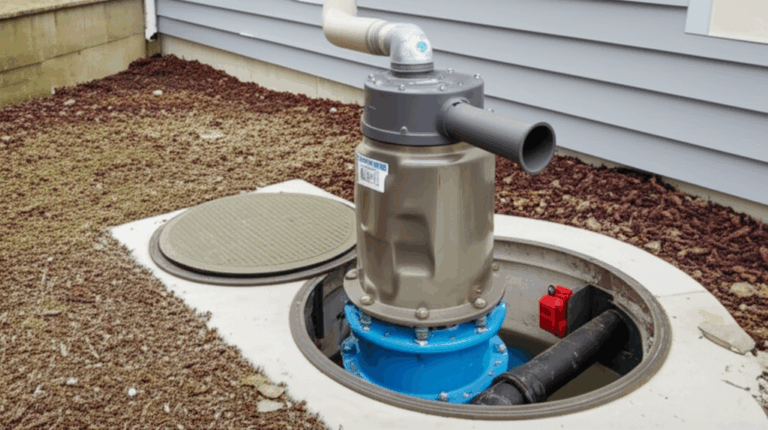
Submersible Pump Characteristics
Installation: Submersible pumps sit completely inside the sump crock, operating underwater within the collection pit. The pump motor and impeller remain fully submerged during water evacuation cycles.
Advantages: These automatic water removal units operate more quietly than pedestal models (35-45 decibels versus 55-70 decibels). Submersible designs handle debris tolerance better, processing particles up to 1/2 inch diameter according to manufacturer specifications (2025).
Best For: Finished basements requiring quiet sump pump operation, deep basement installations, and properties with solid-handling capability needs.
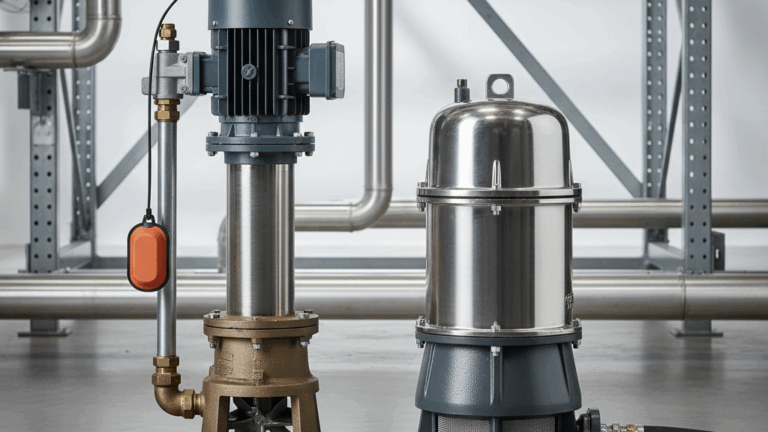
Pedestal Water Pump Features
Installation: Pedestal pump designs mount the motor above the pump basin liner on a vertical column. Only the pump screen filter and intake sit inside the sump hole.
Advantages: Easy maintenance access, longer pump longevity (20-25 years versus 10-15 years for submersible models), and lower initial cost ($100-200 versus $150-400).
Best For: Unfinished basements, shallow pump pit configurations, and budget-conscious installations.
Step 3: Calculate Required Pumping Capacity (GPH and Flow Rate)
Determining how much horsepower sump pump do I need requires calculating water displacement volume. Accurate pump sizing prevents basement protection system failures during peak water events.
3.1 Calculate Basement Square Footage: Multiply length × width. A 1000 square foot basement typically requires minimum 2,000-3,000 GPH (gallons per hour) capacity for adequate below-grade protection.
3.2 Apply Water Table Multiplier: High water table properties need 1.5× standard capacity. For example, what capacity sump pump for 1000 sq ft basement in high-water areas equals 3,000-4,500 GPH versus standard 2,000-3,000 GPH requirements.
3.3 Consider Drainage Rate Needs: Measure how fast water enters during storms. If your sump basin fills within 5 minutes during heavy rainfall, calculate required gallons per minute (GPM) by dividing pit volume by fill time, then multiply by 1.5 for safety margin.
| Basement Size | Standard Water Table | High Water Table | Recommended Pump Flow Rate |
|---|---|---|---|
| 800-1000 sq ft | 2,000-3,000 GPH | 3,000-4,500 GPH | 33-75 GPM |
| 1000-1500 sq ft | 3,000-4,000 GPH | 4,500-6,000 GPH | 50-100 GPM |
| 1500-2000 sq ft | 4,000-5,000 GPH | 6,000-7,500 GPH | 67-125 GPM |
Step 4: Determine Necessary Horsepower Rating and Head Pressure
Pump horsepower rating must match vertical pumping distance requirements. According to the Sump and Sewage Pump Manufacturers Association (2024), incorrect horsepower selection causes 35% of premature pump failures.
4.1 Measure Vertical Lift: Calculate distance from sump pit bottom to discharge point outside your foundation. Add 10 feet to account for horizontal discharge pipe length (each 10 feet horizontal equals approximately 1 foot vertical lift).
4.2 Match Horsepower to Lift:
- 1/4 HP pump: Maximum lift 7-10 feet, suitable for shallow crawl space installations
- 1/3 HP pump: Maximum lift 10-15 feet, standard for most residential drainage applications
- 1/2 HP pump: Maximum lift 15-20 feet, required for deep basements or distant discharge locations
- 3/4 HP pump: Maximum lift 20-25 feet, necessary for commercial applications or extreme vertical pumping distance
4.3 Review Performance Chart: Examine the pump curve provided by manufacturers. Performance diminishes with increased head height. A 1/3 HP pump delivering 3,000 GPH at 5 feet may only provide 2,000 GPH at 15 feet lift according to typical pump specifications sheet data (2025).
Step 5: Select Backup Power System for Emergency Water Pump Protection
Best sump pump for frequent power outages requires reliable backup sump pump systems. Power outage scenarios create maximum vulnerability during storms when electricity fails and water problems peak simultaneously.
Battery Backup Sump Pump Options
DC-Powered Pump Systems: Battery-operated pump units provide 5-7 hours continuous operation during power outage events. Marine-grade batteries deliver 40-75 GPM pumping capacity, sufficient for most emergency water pump situations.
Combination Pump Installations: Pair an AC-powered pump (primary pump) with battery backup (secondary sump pump) for comprehensive flood prevention system protection. According to Consumer Reports (2024), combination systems reduce flood risk by 94% compared to single-pump installations.
Water-Powered Backup Pump Alternative
Water-powered backup pump systems use municipal water pressure to create suction, requiring no electricity or battery backup. These units operate indefinitely during extended outages but consume 1 gallon municipal water per 2 gallons removed, increasing water bills by $20-40 per activation event.
Municipal Code Requirements: Verify local plumbing codes permit water-powered systems. Some jurisdictions prohibit these units due to water conservation concerns or backflow preventer requirements.
Step 6: Review Construction Materials and Pump Durability
Pump construction materials directly impact pump longevity and pump reliability in demanding dewatering applications.
Motor and Housing Materials
- Cast iron: Superior pump durability (15-25 year lifespan), excellent heat dissipation, best sump pump for continuous groundwater seepage. Weighs 25-40 pounds, complicating installation.
- Stainless steel: Corrosion-resistant, 12-20 year lifespan, ideal for homes with radon mitigation systems or chemical water treatment. Mid-range weight (15-25 pounds).
- Thermoplastic: Lightweight (8-15 pounds), 8-12 year lifespan, adequate for seasonal flooding applications. Lower cost ($100-250 versus $200-450 for cast iron).
Float Switch and Switching Mechanism Quality
The float assembly controls automatic float activation for water level control. According to the International Association of Plumbing and Mechanical Officials (2024), float switch failures account for 28% of pump malfunctions.
Vertical Float Switches: Operate in 6-8 inch diameter pits, reliable automatic switch design, minimal mechanical parts.
Tethered Float Switches: Require 12-14 inch diameter sump basin, prone to tangling in narrow collection pits.
Electronic Float Switches: No moving parts, function in 4-inch diameter pits, premium pricing ($50-100 additional cost).
Step 7: Verify Compliance and Choose Essential Drainage System Components
7.1 Confirm Building Code Requirements: Contact local building departments about required check valve specifications, discharge line materials (PVC pipe versus corrugated drainage pipe), and backflow prevention mandates.
7.2 Select Check Valve Type: Install a one-way valve (anti-siphon valve) on the discharge pipe to prevent water backflow into the sump pit. Spring-loaded check valves cost $15-35 and prevent pump short-cycling that reduces pump efficiency by 40% according to manufacturer testing (2025).
7.3 Choose Alarm System: High-water alarm systems ($25-75) provide audible alerts when water levels exceed safe thresholds, critical for basement protection system monitoring during extended absences.
7.4 Plan Discharge Pipe Routing: Route the outlet pipe minimum 10 feet from foundation walls to prevent water re-entry. Use 1.5-2 inch diameter PVC pipe for discharge hose applications. Avoid corrugated pipes that restrict water flow management by 20-30%.
For comprehensive information on selecting the optimal configuration for your specific situation, consult a detailed sump pump selection guide that addresses regional building codes and local water table conditions.
Troubleshooting Common Sump Pump Selection Issues
If your sump pit is smaller than 18 inches diameter: Select a submersible pump with compact footprint (10-12 inch diameter) or consider pedestal pump designs that minimize basin space requirements.
If you experience frequent clogging: Choose pumps with minimum 1/2 inch solid-handling capability and debris tolerance features. Install pump screen filter accessories ($20-40) to protect impeller components.
If your discharge point exceeds 20 feet vertical lift: Upgrade to 3/4 HP pump or install a two-stage pumping system with intermediate collection basin to maintain adequate pump performance rating.
If local codes prohibit direct municipal sewer discharge: Plan drainage solution routing to approved daylight locations, rain gardens, or dry wells minimum 10 feet from property lines per typical municipal code standards.
If selecting between multiple pump options with similar specifications: Prioritize established brands offering 3-5 year warranties, readily available replacement parts, and local plumbing contractor familiarity for service support.
Next Steps: Installation and Ongoing Maintenance
After selecting the appropriate sump pump system:
- Schedule Professional Installation: Hire licensed plumbing contractors for pump installation ensuring building code compliance and proper weep hole configuration. Professional installation costs $400-800 including labor and drainage system components.
- Test Operation Monthly: Pour 5 gallons water into sump basin to verify automatic pump activation and proper pump switching mechanism function.
- Inspect Quarterly: Check discharge line for blockages, verify check valve operation, test alarm system batteries, and confirm float assembly moves freely.
- Service Annually: Clean pump screen filter, inspect impeller for debris accumulation, test battery backup systems under load conditions, and verify pumping capacity meets original performance specifications.
- Replace Proactively: Plan replacement at 60-70% of expected pump lifespan to avoid emergency failures during peak storm seasons.
Proper sump pump selection provides reliable moisture management and foundation water control for 10-25 years depending on construction materials and maintenance practices. This flood protection investment protects home values by preventing water damage averaging $10,000-50,000 per flooding event according to the Insurance Information Institute (2024).